Display results in Post View
Practice displaying and modifying results display on a fog lamp model.
Open the Simulation file
Open the part file and reset the dialog box settings.
- Choose File→Open and open foglamp/FogLamp_sim.sim.
- Choose File→Preferences→User Interface and on the Dialog and Precision page, reset the dialog box memory.
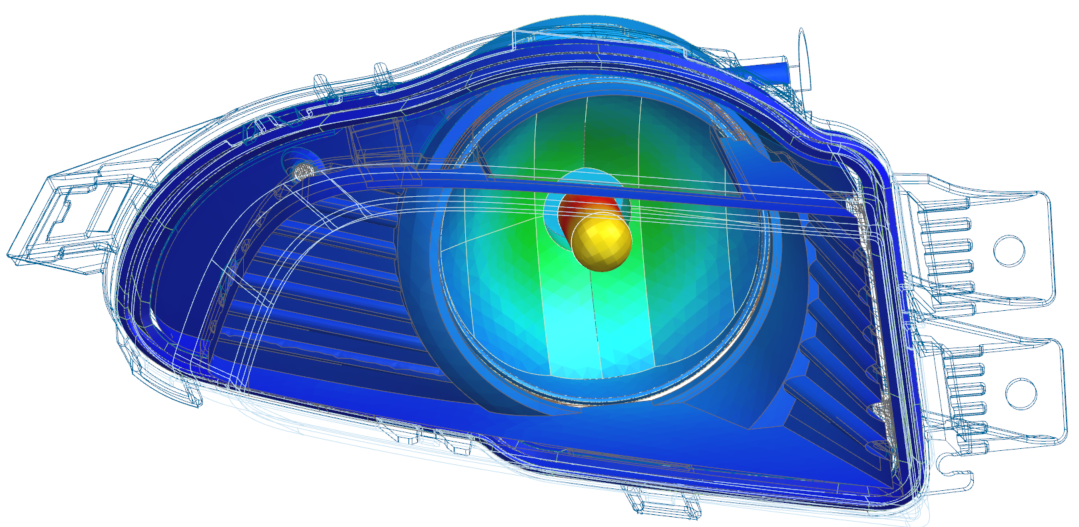
Display temperature results
Load and display thermal results.
- In the Post Processing Navigator, right-click the Thermal node and choose Load.
- Expand the Thermal node and double-click the Temperature - Elemental node.
- Rotate the model to visualize the fog lamp lens.
Display results on CAD geometry
Restore visibility to layers and combine pre- and post-processing data in a single post view.
- In the Post Processing Navigator, expand the Post View 1 node and hide Mesh Collectors.
- Choose Menu→Format→Layer Visible in View to restore visibility to layers and combine pre- and post-processing data in a single post view.
- Click OK.
- In the Layer Visible in View dialog box, click All to select all layers, and click Visible.
- Click OK. The current pre-preprocessing display is now visible in the post view.
- In the Post Processing Navigator, expand Mesh Collectors → Fog_Lamp_fem1.fem → 2D Elements nodes and show the following nodes: Bezel_2D, Reflector_2D, Housing_2D, Bulb_back, and Bulb.
-
Expand the 3D Elements node and show the
Reflector and Seal
nodes.
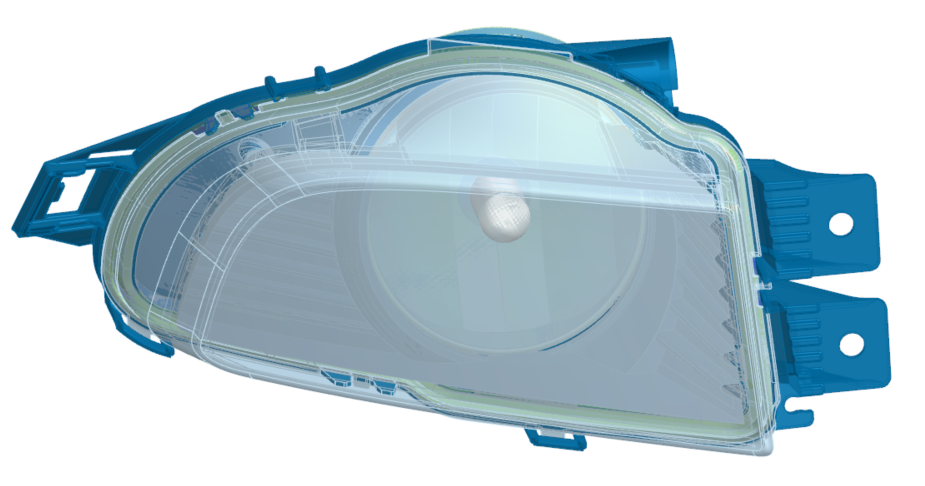
Edit object display
Modify object display settings for translucency.
-
Choose Display tab→Object
group→Edit Object Display
 .
.
-
Click Select All
 .
.
- Click OK.
- In the Shaded Display group, set the Translucency to 100.
-
Click OK.