How to check connections in thermal coupling?
This article shows how to visualize thermal connections before and after solving the model.
Visualizing thermal connections before solving the model
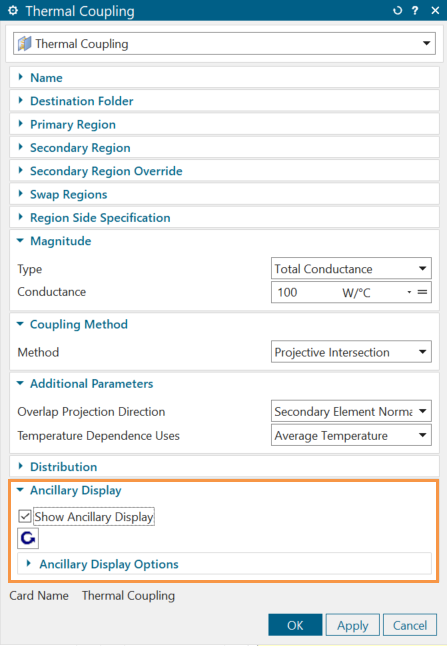
You can display connections between primary and secondary elements before solving the model only in the Thermal Coupling simulation object of type Thermal Coupling with projective intersection coupling method by selecting the Show Ancillary Display check box.

|
|
The ancillary display supports thermal couplings of 0D, 1D, and 2D elements, edges of 2D elements, and faces of 3D elements when they can infer an area for each type.
Visualizing thermal connections after solving the model
You can request and display the Thermal Connections and Coupled Area Ratio result sets for solved solutions with one or more following supported boundary conditions:
| Simulation object | Type | Solver environment |
|---|---|---|
| Thermal Coupling | Thermal Coupling, Perfect Contact | Simcenter 3D Thermal/Flow, Simcenter 3D Electronic Systems Cooling, Simcenter 3D Space Systems Thermal, Simcenter 3D Multiphysics |
| Thermal Coupling - Convection | Convection Coupling, Duct Node Convection Coupling | Simcenter 3D Thermal/Flow, Simcenter 3D Electronic Systems Cooling, Simcenter 3D Space Systems Thermal, Simcenter 3D Multiphysics |
| Edge-to-Edge Contact | Manual | Simcenter 3D Multiphysics |
| Edge-to-Edge Gluing | Manual | Simcenter 3D Multiphysics |
| Surface-to-Surface Contact | Manual | Simcenter 3D Multiphysics |
| Surface-to-Surface Gluing | Manual | Simcenter 3D Multiphysics |
In Simcenter 3D Multiphysics, request Thermal Connections and Coupled Area Ratio by right-clicking the solution and selecting Edit. On the Results Options page, edit the Thermal Output Request.
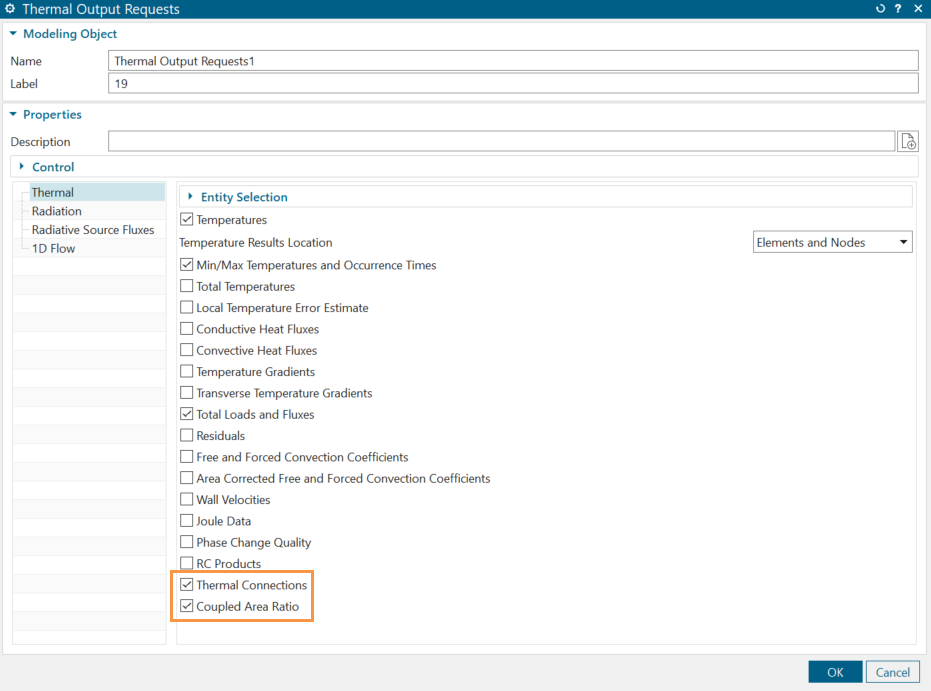
In Simcenter 3D Thermal/Flow, Simcenter 3D Space Systems Thermal, Simcenter 3D Electronic Systems Cooling, right-click the solution and select Edit. On the Results Options page, under the Thermal tab, select the Thermal Connections and Coupled Area Ratio check boxes.
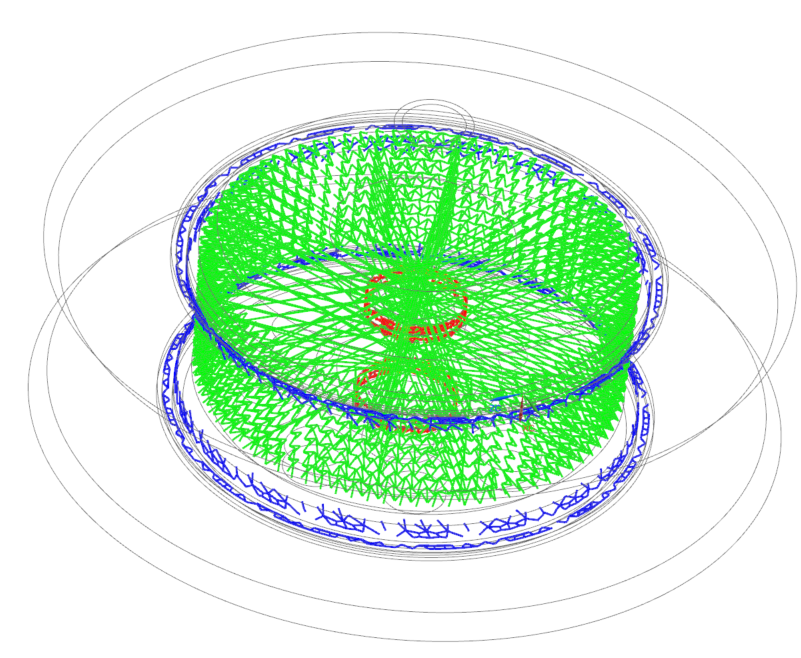
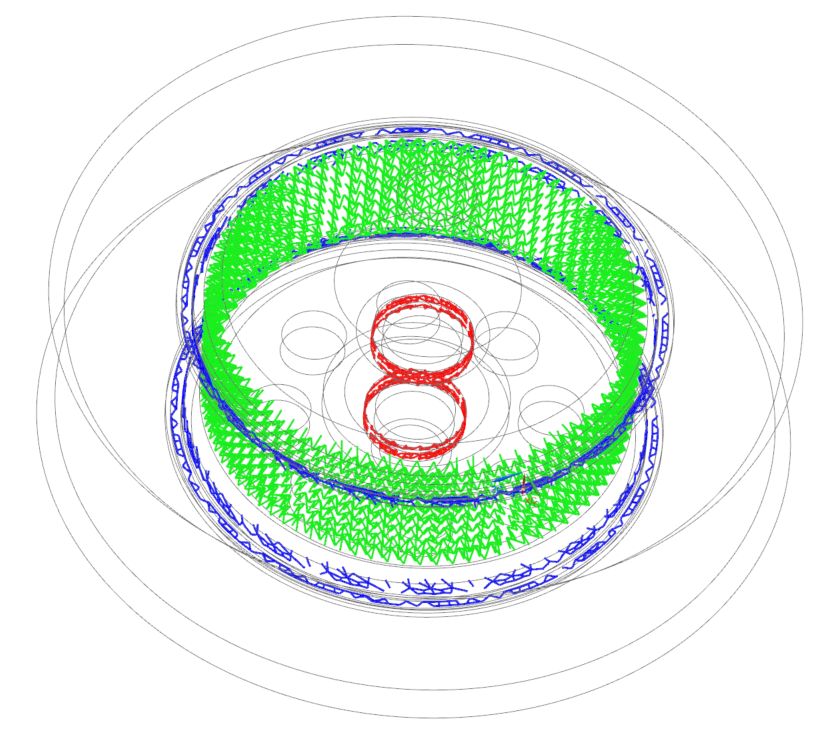
In the Post Processing Navigator, click Thermal Connections — Elemental to display the lines representing heat paths created by the thermal solver between primary and secondary elements of supported thermal couplings. Each color represents one thermal coupling. The colors are assigned randomly and cycle through 16 predefined colors. The numbers in the legend are only indicators and do not represent the coupling magnitude.
In the following example, the thermal connections are presented for the tire (1), brake pad (2), wheel (3), and axle (4). The blue color shows the connection between the wheel and the tire, the green color shows the connection between the wheel and the brake pad, the red color shows the connection between the axle and the wheel. In the second image, note the incorrect additional connections between the wheel and the break pad, as a result of improper thermal coupling set up. After adjusting the thermal couplings, the third image accurately presents the expected thermal connections.

|
|
|
| Break model | Wrong thermal connections | Correct thermal connection |
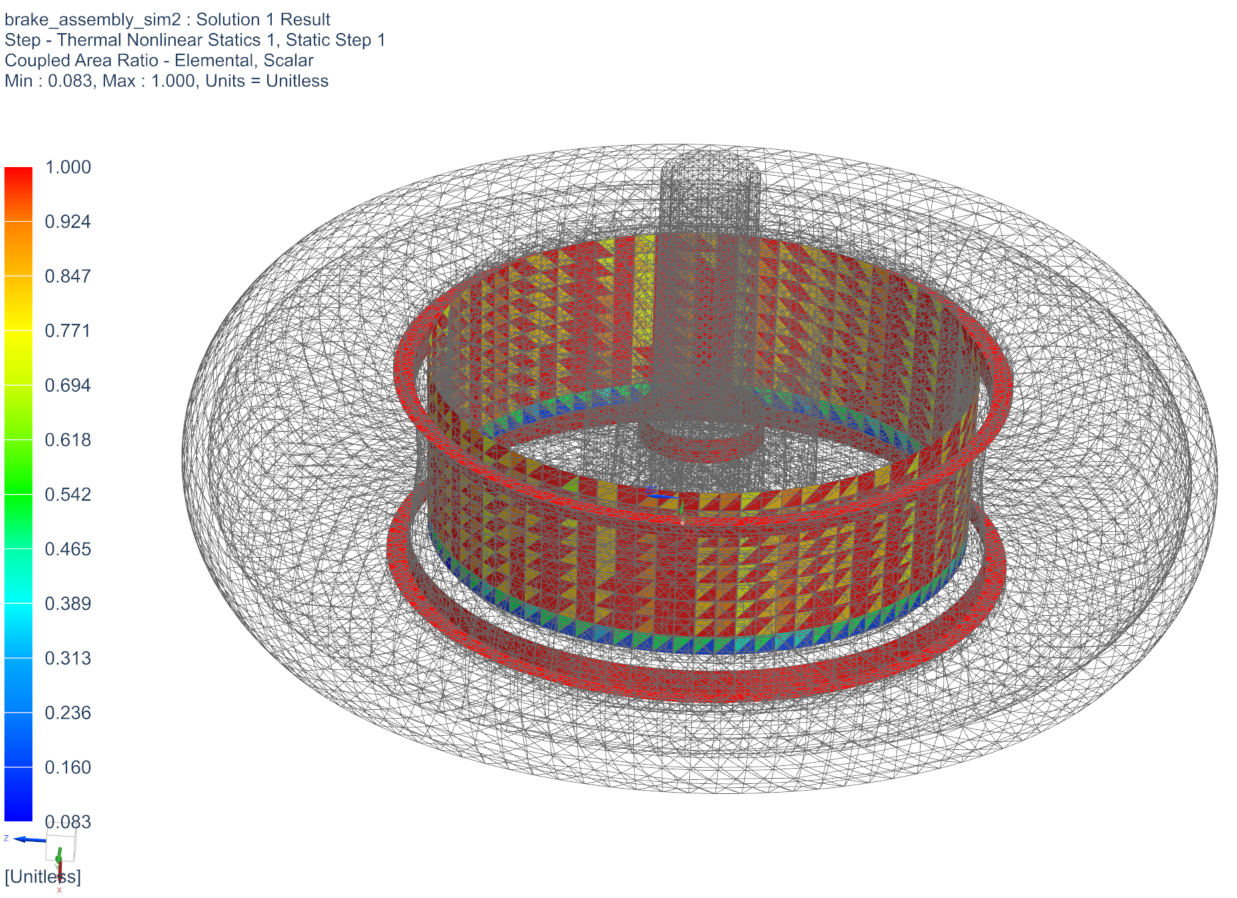
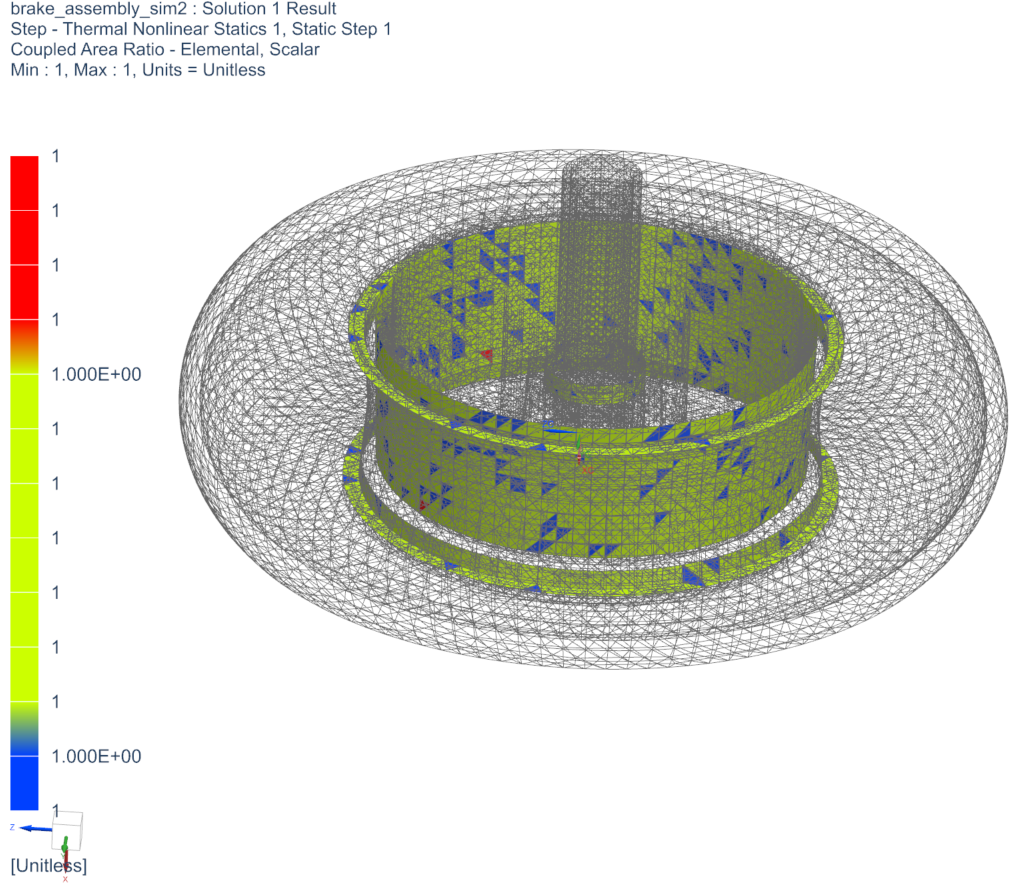
In the Post Processing Navigator, click Coupled Area Ratio — Elemental to display the ratio of the primary element area that overlaps with secondary element selection over the primary element area. This value can be higher than one when the primary elements are used in more than one supported thermal coupling.
In the first image, note that the ratio in the brake pad to wheel connection is significantly less than 1 in some areas, indicating that the thermal coupling is incorrectly defined. In the second image, the coupled ratio is equal to 1, signifying that the thermal connections are correctly established.
 |
 |
| Wrong thermal connections | Correct thermal connections |
For a transient analysis, these result sets are displayed under the Time Invariant node in the Post Processing Navigator.
Inspecting coupling areas per element in scratch files
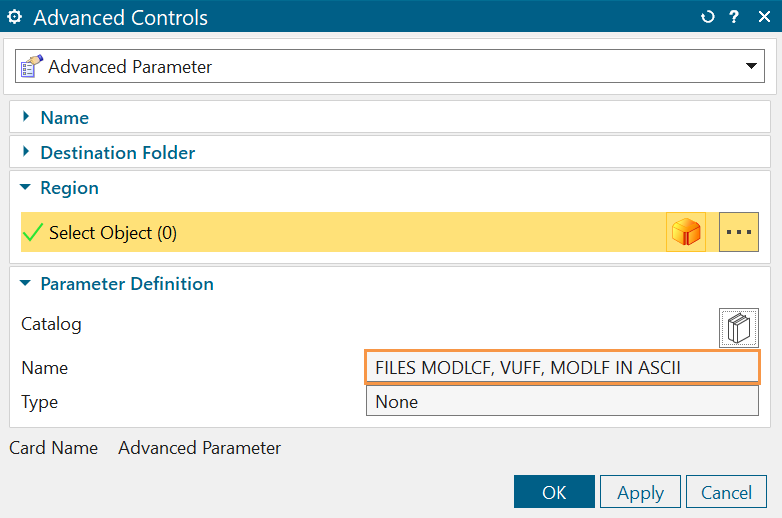
You can inspect elemental coupling areas in the solver, by converting the MODLCF file to ASCII format either by:
- Using the executive menu command.
- Specifying a FILES MODLCF, VUFF, MODLF IN ASCII advanced
parameter.
From the MODLCF file below, we can see the surface element 66974 is connected to element 67375 and 67376.

Displaying thermal connections per boundary condition
You can display thermal connections individually for each supported boundary condition listed in the Supported boundary conditions table.
In the Simcenter 3D Multiphysics environment, right-click the solution and select Edit. On the Results Options page, edit the Thermal Output Request and select the Create Groups for Boundary Conditions check box.
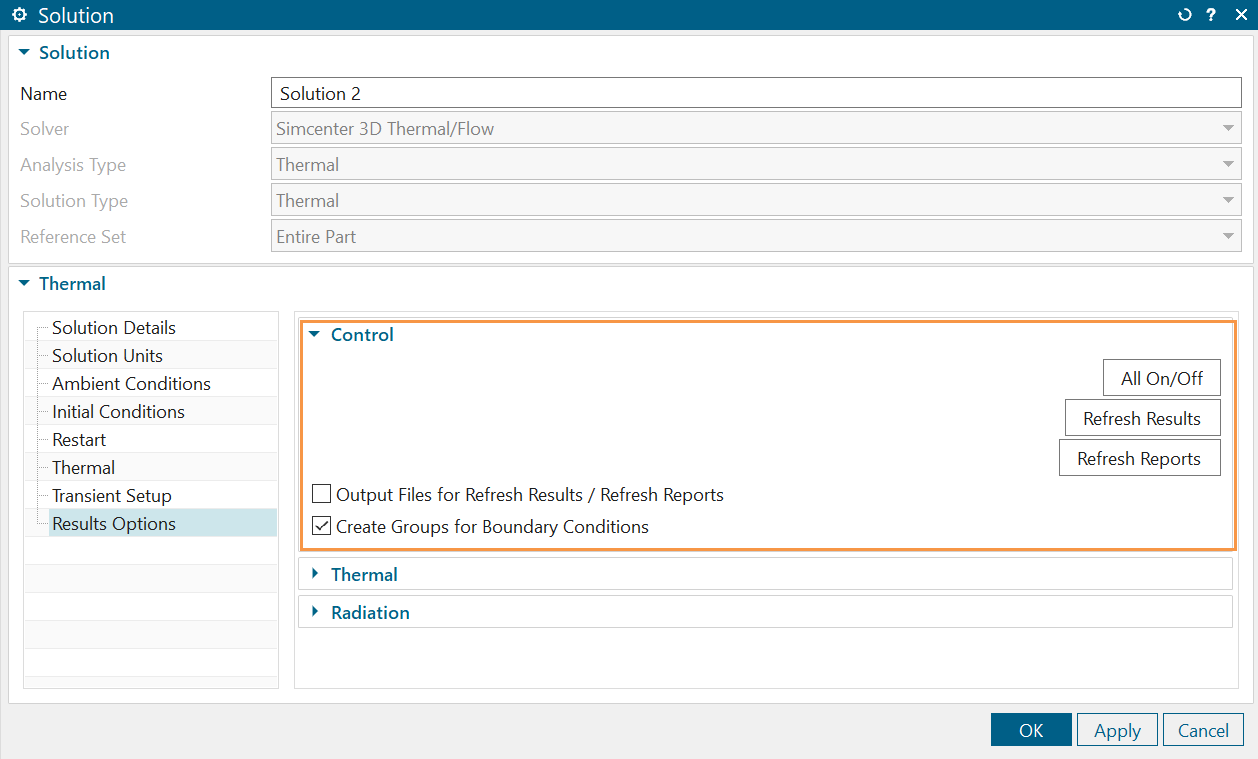
In the Simcenter 3D Thermal/Flow, Simcenter 3D Space Systems Thermal, and Simcenter 3D Electronic Systems Control environments, right-click the solution and select Edit. On the Results Options page, select the Create Groups for Boundary Conditions check box.
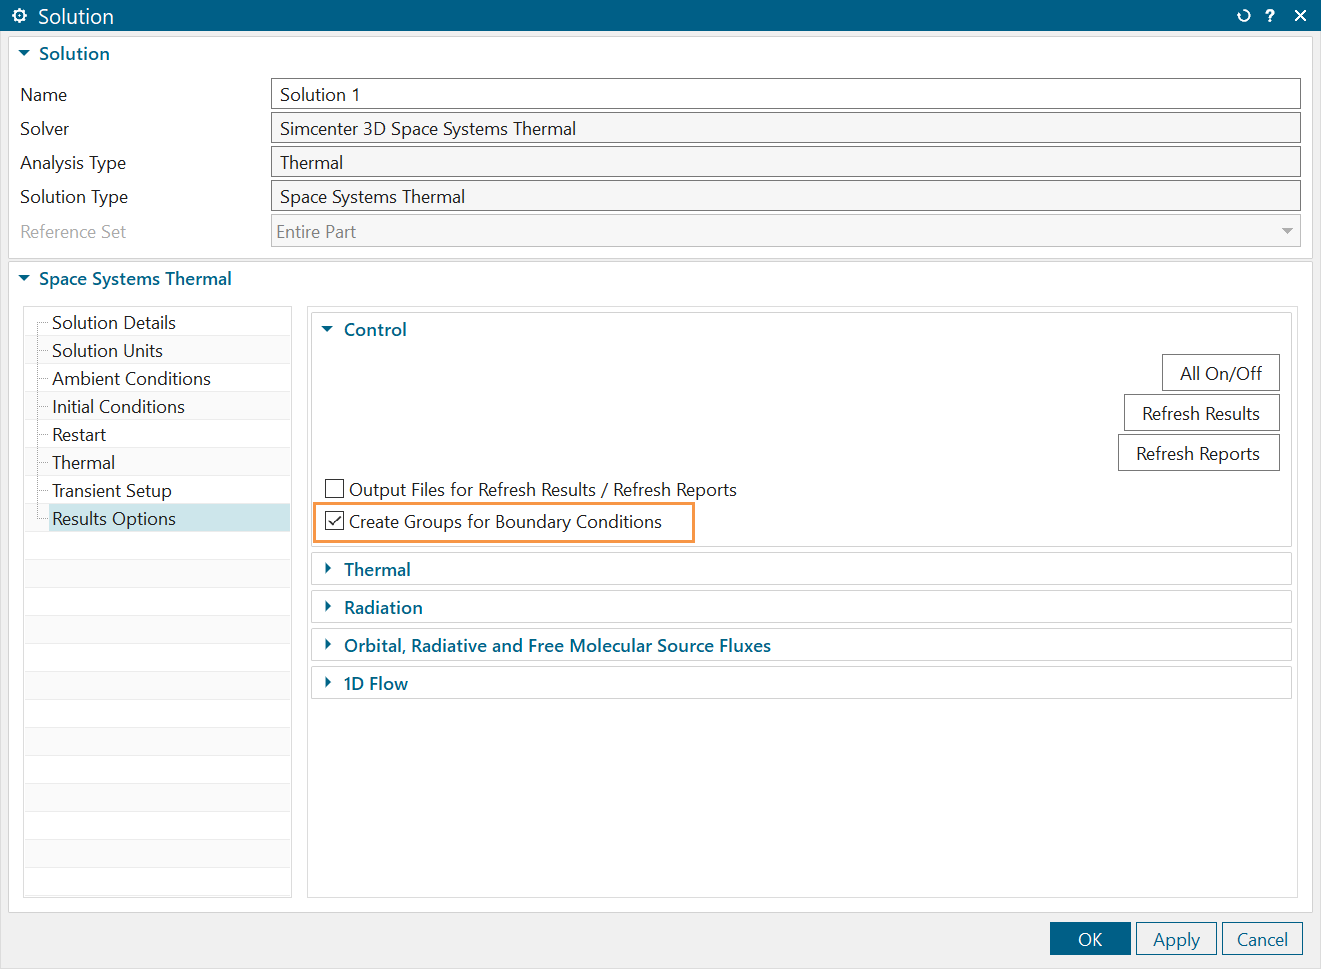
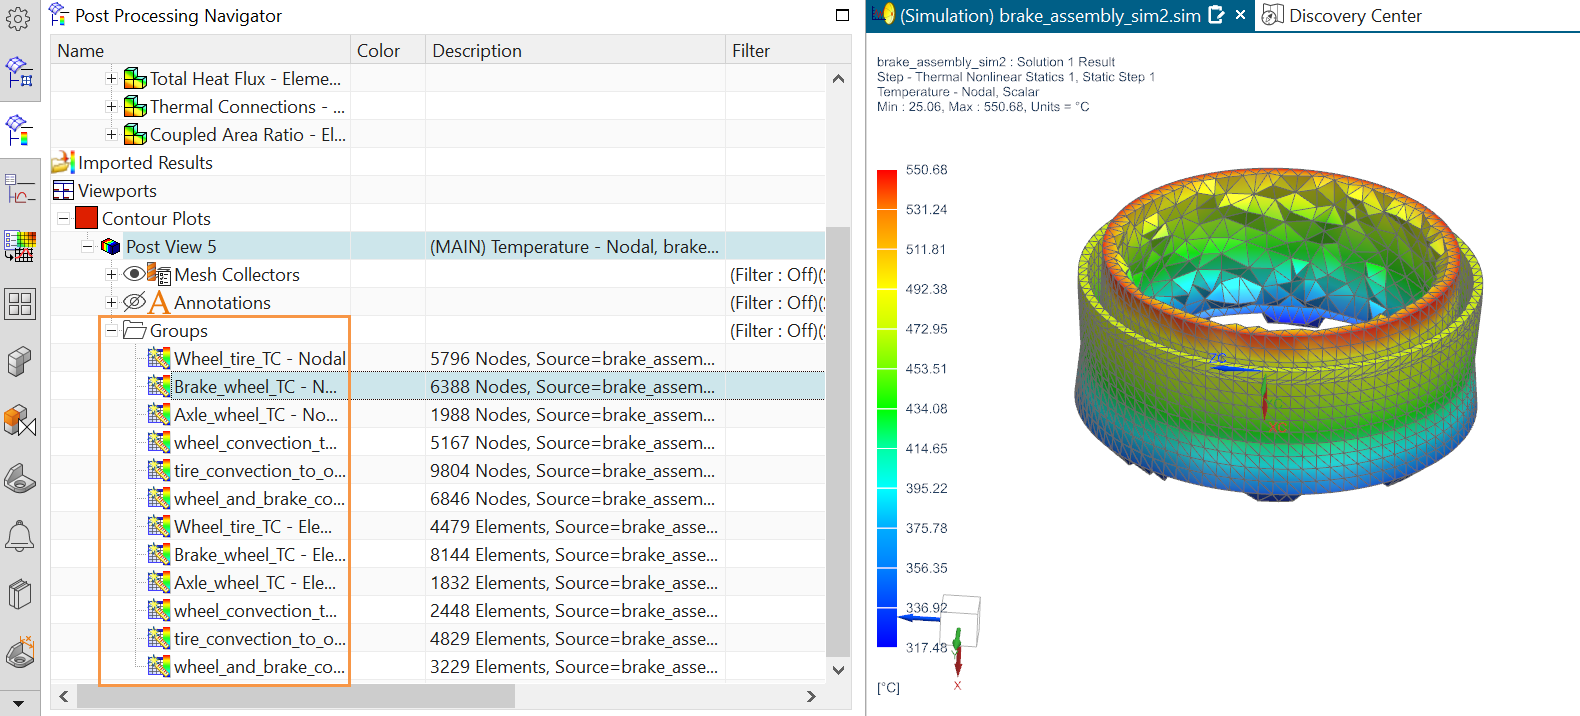
In the Post Processing Navigator, these results are stored in the Groups node under the post view node.
